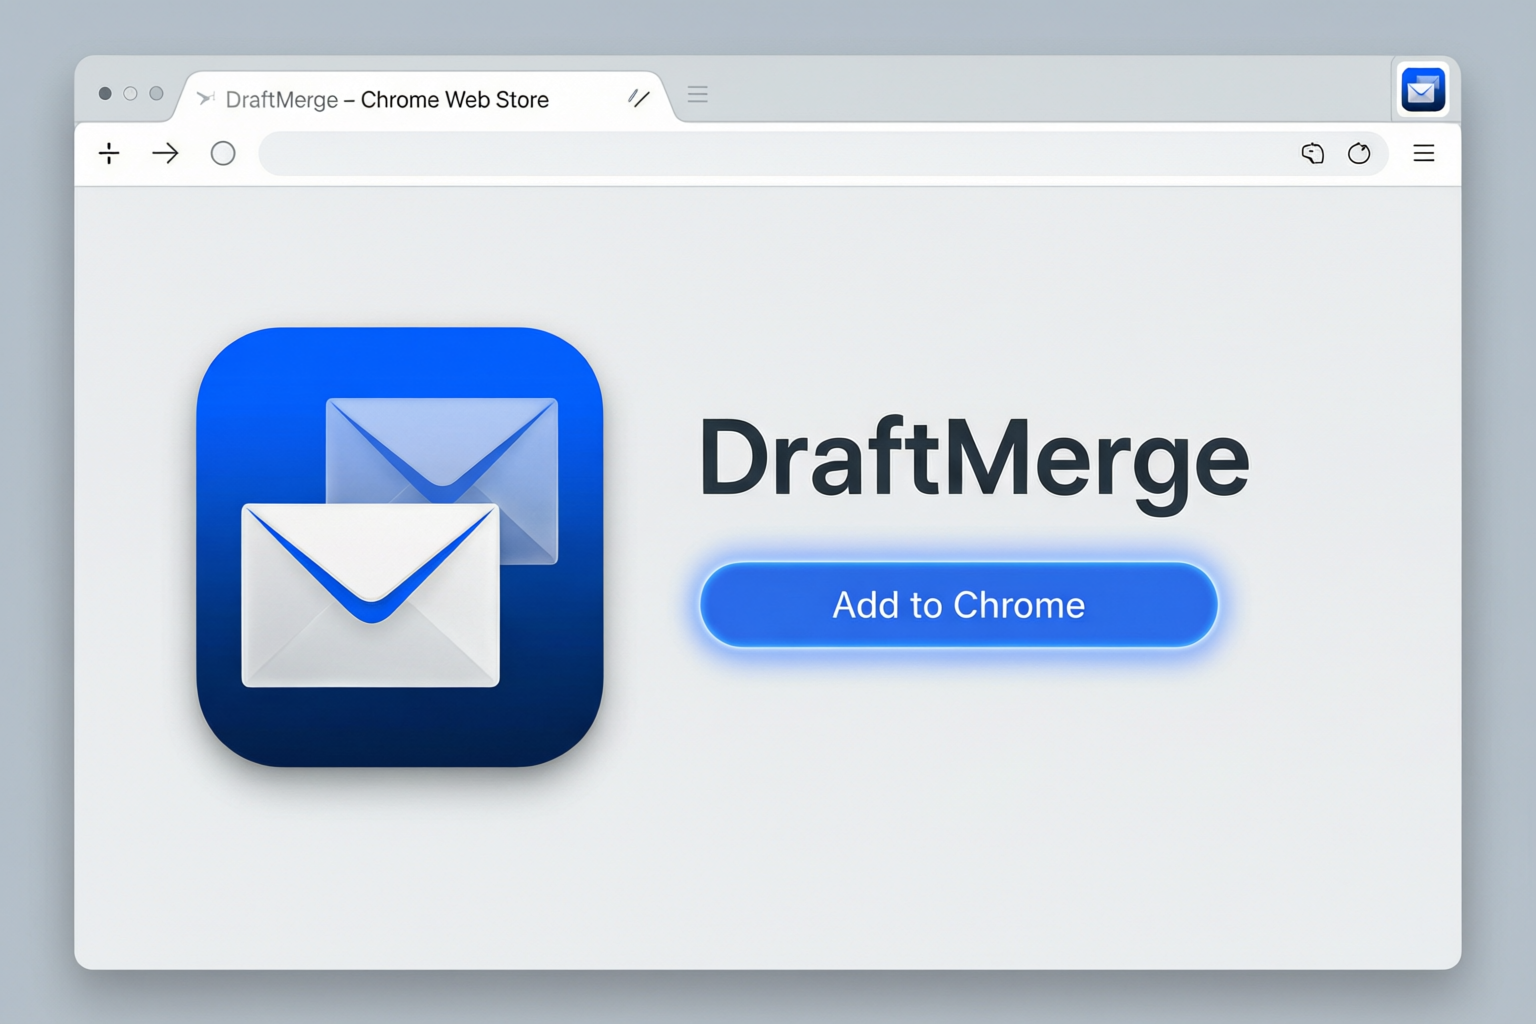
Install DraftMerge from the Chrome Web Store in one click
Overview
DraftMerge is a Chrome extension that turns Gmail into a powerful mail merge tool. Send personalized emails to hundreds of contacts directly from your Gmail account — no separate email service required.
System Requirements
- Browser: Google Chrome (version 88 or later)
- Email: Gmail account (personal or Google Workspace)
- Internet: Active internet connection
- OS: Windows 10+, macOS 10.14+, Linux, ChromeOS
1 Install the Extension
Installation Steps
- Open Google Chrome and navigate to the Chrome Web Store
- Search for "DraftMerge" or use the direct link provided by our team
- Click the "Add to Chrome" button
- A confirmation dialog will appear — click "Add extension"
- Wait for the installation to complete (usually takes 5-10 seconds)
- The DraftMerge icon will appear in your Chrome toolbar (top-right corner)
💡 Tip: Pin the DraftMerge extension to your toolbar for easy access. Click the puzzle icon in Chrome's toolbar, find DraftMerge, and click the pin icon.
2 Sign In with Google
Authentication
- Click the DraftMerge icon in your Chrome toolbar
- The extension will open in a new tab
- Click "Sign in with Google"
- Select your Gmail account or enter your credentials
- Review the permissions requested by DraftMerge
- Click "Allow" to authorize the extension
Permissions Explained
DraftMerge requests minimal permissions to function:
gmail.send— Send emails on your behalf through Gmail APIgmail.readonly— Read your sent emails for tracking and analyticsspreadsheets.readonly— Read contact data from Google Sheets (if using Sheets as a data source)
⚠️ Privacy Note: DraftMerge never stores your email content or contact data on external servers. All processing happens locally in your browser, and emails are sent directly through your Gmail account.
3 Prepare Your Contact List
You have two options for importing contacts into DraftMerge:
Option A: Google Sheets (Free Plan)
Setting Up Google Sheets
- Create a new Google Sheet at sheets.google.com
- Use the first row as column headers:
first_name,last_name,email,company, etc. - Enter your contact data in subsequent rows
- Ensure the sheet is accessible (not restricted to specific users)
- Copy the sheet URL — you'll paste it into DraftMerge
Example Google Sheet Structure:
| first_name | last_name | email | company |
|------------|-----------|-------|---------|
| John | Doe | john@example.com | Acme Corp |
| Jane | Smith | jane@startup.io | TechStart |
| Bob | Johnson | bob@enterprise.com | GlobalInc |
|------------|-----------|-------|---------|
| John | Doe | john@example.com | Acme Corp |
| Jane | Smith | jane@startup.io | TechStart |
| Bob | Johnson | bob@enterprise.com | GlobalInc |
Option B: CSV or Excel File (Pro & Enterprise Plans)
Importing from File
- Prepare a CSV (.csv) or Excel (.xlsx) file with your contact data
- Use the first row as column headers (same structure as Google Sheets)
- Save the file to your computer
- In DraftMerge, click "Import Contacts"
- Drag and drop your file or click to browse
- Map the columns to DraftMerge fields
- Click "Import" to upload your contacts
💡 Best Practice: Always include at least the
email column. Additional columns like first_name and company enable personalization, which significantly improves response rates.
4 Create Your Email Template
Template Creation Steps
- In DraftMerge, navigate to the "Template" step
- Click "New Template" or select an existing one
- Enter your email Subject line
- Write your email Body content
- Use merge fields for personalization:
{{column_name}} - Preview your template to verify merge fields work correctly
- Click "Save Template"
Example Template with Merge Fields
Subject: Quick question, {{first_name}}
Body:
Hi {{first_name}},
I noticed you're working at {{company}} and wanted to reach out. We've helped similar companies in your industry streamline their workflow and reduce costs by up to 30%.
Would you be open to a brief 15-minute call next week to explore if we can do the same for {{company}}?
Best regards,
{{sender_name}}
Body:
Hi {{first_name}},
I noticed you're working at {{company}} and wanted to reach out. We've helped similar companies in your industry streamline their workflow and reduce costs by up to 30%.
Would you be open to a brief 15-minute call next week to explore if we can do the same for {{company}}?
Best regards,
{{sender_name}}
Available Merge Fields
{{first_name}}— Recipient's first name{{last_name}}— Recipient's last name{{email}}— Recipient's email address{{company}}— Recipient's company name{{sender_name}}— Your name (automatically populated){{sender_email}}— Your email address (automatically populated)- Any custom column from your contact list
5 Preview and Validate
Pre-Send Checklist
- Click "Preview" to see how your email will look
- Verify all merge fields are populated correctly (no empty fields)
- Check for typos, grammar errors, or formatting issues
- Review the recipient list for duplicates or invalid addresses
- Send a test email to yourself first
- Check that the email renders correctly on desktop and mobile
- Verify links and attachments (if any) work properly
⚠️ Important: Always send a test email before launching your campaign. This helps you catch errors and ensures your template looks professional.
6 Send Your Campaign
Launch Steps
- Click "Start Campaign" in the DraftMerge extension
- DraftMerge will begin sending emails with smart pacing
- Monitor progress in real-time on the Dashboard
- You can pause or cancel the campaign at any time
- Wait for the campaign to complete (time depends on recipient count and pacing settings)
Smart Pacing
DraftMerge automatically paces your emails to maintain high deliverability:
- Default pace: 1 email every 30-60 seconds
- Custom pace: Adjust in Settings → Campaign Defaults
- Daily limits: Set maximum emails per day to avoid spam filters
7 Track Results (Optional)
If you enabled tracking in your campaign settings:
Viewing Analytics
- Open the DraftMerge Dashboard (click extension icon → Dashboard tab)
- View real-time metrics: sent, delivered, opened, clicked, replied, bounced
- Filter by campaign, date range, or status
- Export data as CSV for further analysis
Key Metrics to Monitor
- Delivery Rate: Percentage of emails successfully delivered (aim for > 98%)
- Open Rate: Percentage of recipients who opened your email (industry avg: 15-25%)
- Reply Rate: Percentage of recipients who responded (industry avg: 1-5%)
- Bounce Rate: Percentage of emails that couldn't be delivered (keep below 2%)
What's Next?
Congratulations! You've sent your first campaign with DraftMerge. Here are some next steps to improve your results:
- Learn more about templates — Advanced personalization, dynamic content, and saved templates
- Explore AI Tools — Icebreakers, grammar checker, and translation features
- Improve deliverability — Warm-up schedules, content optimization, and reputation management
- Advanced campaigns — A/B testing, scheduling, and automation
Need Help?
If you run into any issues during setup:
- Check our Troubleshooting Guide for common problems and solutions
- Visit our Support Center to submit a ticket
- Email us at support@softcofee.com
- Join our GitHub Community for discussions and updates